Finishing the seam, fitting the cockpit and then some ironing.
Re-doing the seams
After having done the seams the cockpit was given the initial fit using spring clamps.

In order to do this the excess fabric was trimmed. It is easy to take too much off - you need a good inch from above the cockpit rim to begin with. Then the tension was taken up by inserting nails through the fabric into the sewing holes of the rim. So as not to pull holes in the fabric I prime the areas where I will be making the holes with some polyurethane varnish.

However by the time I have completed the process of putting all of the nails through, I was not convinced that wrinkles which remained in the hull would disappear when I shrank the fabric through ironing later.

I also had one or two iffy areas in the first and rear thirds of the boat, therefore I decided to redo the seams of the middle two thirds of the boat both fore and aft of the cockpit. If careful it is easier to cut than undo the thread.

The boat looked much better when redone, having focused on removing some fabric from the centre section of the boat, partly by re-doing the seams in the opposite direction, i.e. away from the cockpit, the ends being pinned where the cockpit base would sit. This is actually the direction in which I normally stitch seams. Trying to stitch in from the ends does not seem particularly successful with this fabric and a rolled seam. Unfortunately if you don't try something different, you do not find out.
 Then the cockpit was re-fitted, the photograph shows the fabric being folded over on itself to give better support for the stitching.
 As there were now more wrinkles on the deck, particularly around the cockpit, a couple of pleats were sewn in, one each side. The photo shows the gathering of the pleat in the foreground before stitching.
 Although lighter fabrics seem to shrink more, ironing test samples of this fabric on an ironing board have given me approx 2% reduction in dimensions. On the boat where there is no backing it is difficult to heat the fabric sufficiently to get the full shrinkage, so I am at pains to keep wrinkles to a minimum on the hull particularly before ironing.
This photo shows before:

and this after:

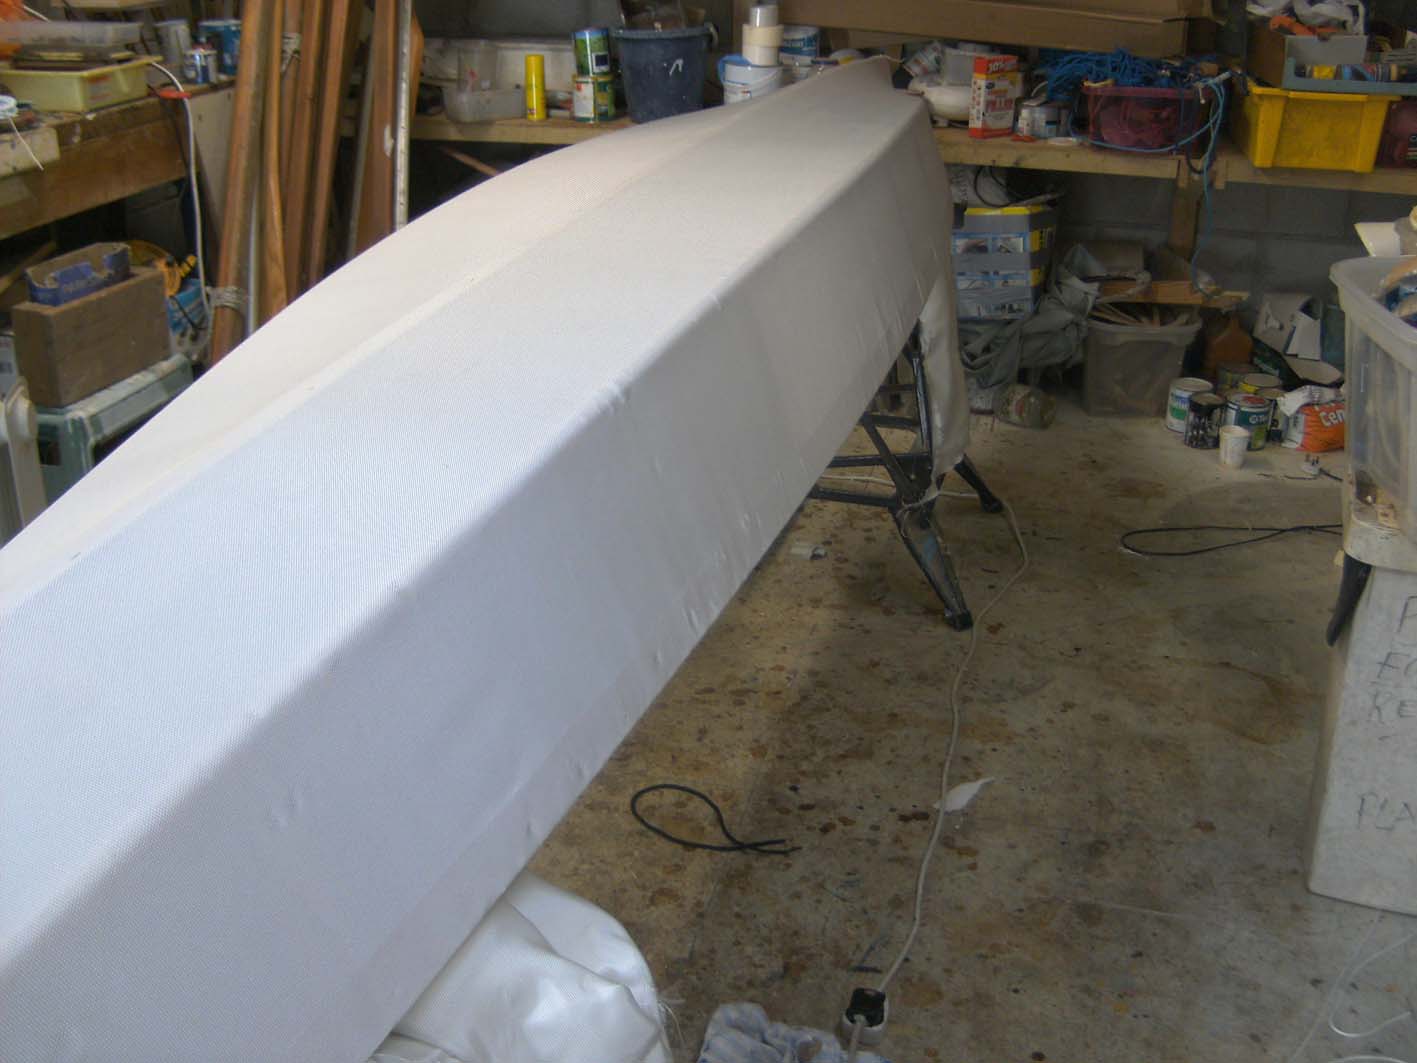
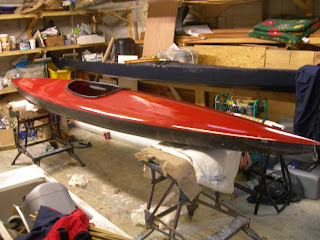
The post finishes with two views of the fully skinned hull:

 The hull is wrinkle free, but a number remain on the deck which is acceptable. The completed pleat is visible in the first of the two photos. Please note that the techniques referrred to above are applicable the heavy polyester fabric that I use.
After having done the seams the cockpit was given the initial fit using spring clamps.

In order to do this the excess fabric was trimmed. It is easy to take too much off - you need a good inch from above the cockpit rim to begin with. Then the tension was taken up by inserting nails through the fabric into the sewing holes of the rim. So as not to pull holes in the fabric I prime the areas where I will be making the holes with some polyurethane varnish.

However by the time I have completed the process of putting all of the nails through, I was not convinced that wrinkles which remained in the hull would disappear when I shrank the fabric through ironing later.

I also had one or two iffy areas in the first and rear thirds of the boat, therefore I decided to redo the seams of the middle two thirds of the boat both fore and aft of the cockpit. If careful it is easier to cut than undo the thread.

The boat looked much better when redone, having focused on removing some fabric from the centre section of the boat, partly by re-doing the seams in the opposite direction, i.e. away from the cockpit, the ends being pinned where the cockpit base would sit. This is actually the direction in which I normally stitch seams. Trying to stitch in from the ends does not seem particularly successful with this fabric and a rolled seam. Unfortunately if you don't try something different, you do not find out.


This photo shows before:

and this after:
The post finishes with two views of the fully skinned hull:


Comments
Post a Comment