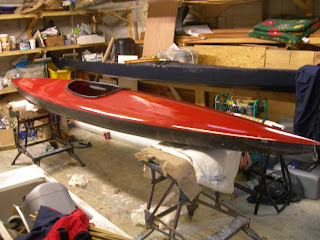
Catching up with progress
Apologies for the delayed post due to my lap-top expiring.
All but one of the frames have been lashed in place alongside the deck beams, and the one in the centre (where there is no deck beam) simply lashed to the gunwales, as was the case with the masik, the curved deck beam which holds up the front of the cockpit.

Rather difficult to see in the photograph above, but the lashing to the deck beams is clearer in the ones below:


The keel line had a kink in it near the stern just discernible in the top photo. This was due to frame no 1 (numbered from the stern) being a little too high, this was confirmed by checking on the plan. Once this had been adjusted, the curve came out fine:

This naturally leads us on to the bow piece, shown temporarily fixed in the photo above. The previous post showed the hardboard templates which had been created from the offsets and the bow piece was glued up using cedar for the bulk of the piece, and oak for the nose area, so as not to snap on impact.

 The three parts ready for glueing shown alongside the template, and then below ready for glueing, and then being glued. The nails form a framework against which the pieces, glued with epoxy can be wedged/pulled together. I coated the joints with clear freshly mixed epoxy to give good wood penetration before adding more thickened resin to ensure the joint had no gaps.

The finished piece came out like this:
 And fitted against a small frame (lashed to the gunwale) to centre it and give it stability. The same process was repeated with the stern piece. The next post will show how they are all lashed and pegged into place.

All but one of the frames have been lashed in place alongside the deck beams, and the one in the centre (where there is no deck beam) simply lashed to the gunwales, as was the case with the masik, the curved deck beam which holds up the front of the cockpit.

Rather difficult to see in the photograph above, but the lashing to the deck beams is clearer in the ones below:


This naturally leads us on to the bow piece, shown temporarily fixed in the photo above. The previous post showed the hardboard templates which had been created from the offsets and the bow piece was glued up using cedar for the bulk of the piece, and oak for the nose area, so as not to snap on impact.

 The three parts ready for glueing shown alongside the template, and then below ready for glueing, and then being glued. The nails form a framework against which the pieces, glued with epoxy can be wedged/pulled together. I coated the joints with clear freshly mixed epoxy to give good wood penetration before adding more thickened resin to ensure the joint had no gaps.
The finished piece came out like this:


Comments
Post a Comment